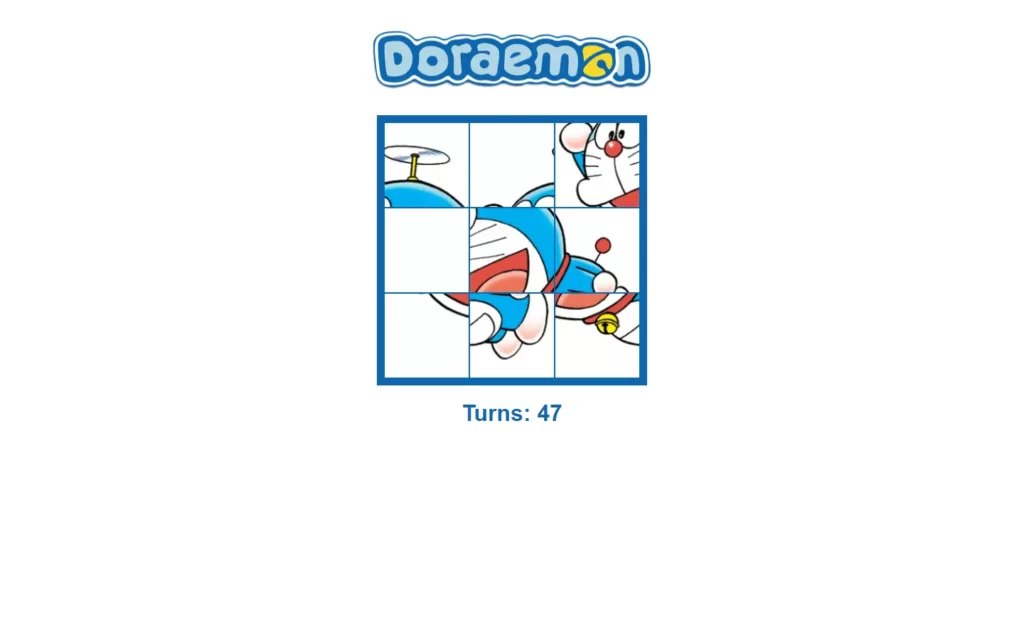
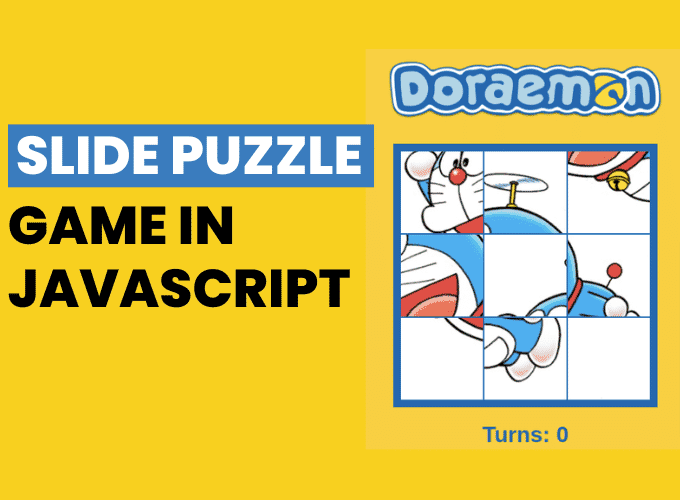
In this article, we will create a slide puzzle game in HTML CSS and JavaScript. Basically, we will have some random pieces of image spread in a 3×3 puzzle box. We have here the Doraemon image, If you don’t know about Doraemon, so it is a Japanese character. Here we will have 9 pieces of the image, and they are spread randomly in the puzzle box.
The objective of The Game
If you have played such kinds of games, so might know about the logic. But if you haven’t played these kinds of games, then just remember we need to make a perfect image just by sliding the pieces of images.
Pre-requisites to Make Slide Puzzle Game in HTML CSS and JavaScript
- Basic knowledge of HTML.
- Good knowledge of CSS.
- Good knowledge of JavaScript.
Creating HTML and Default Settings
<!DOCTYPE html>
<html>
    <head>
        <meta charset="UTF-8">
        <meta name="viewport" content="width=device-width, initial-scale=1.0">
        <title>Slide Puzzle</title>
        <link rel="stylesheet" href="puzzle.css">
        <script src="puzzle.js"></script>
    </head>

    <body>
        <img id="title" src="./logo.png">
        <div id="board">
        </div>
        <h1>Turns: <span id="turns">0</span></h1>
    </body>
</html>
body {
font-family: Arial, Helvetica, sans-serif;
text-align: center;
color: #0c67ae;
}First of all, we have to build HTML markup and in this we just added link for CSS and JavaScript files. Also, we have here logo image for doraemon and <h1> heading which have turns in it. Then after, in CSS we just have to add font-family of Helvetica, also we used text-align to center, and lastly color to #0c67ae.
Now, we just added some styles to customize our puzzle box, which is pretty easy to do.
#title {
height: 150px;
width: 400px;
}
#board {
width: 360px;
height: 360px;
background-color: lightblue;
border: 10px solid #0c67ae;
margin: 0 auto;
display: flex;
flex-wrap: wrap;
}
#board img {
width: 118px;
height: 118px;
border: 1px solid #0c67ae;
}
Adding Image Pieces to Board
var rows = 3;
var columns = 3;
var currTile;
var otherTile; //blank tile
var turns = 0;
// var imgOrder = ["1", "2", "3", "4", "5", "6", "7", "8", "9"];
var imgOrder = ["4", "2", "8", "5", "1", "6", "7", "9", "3"];
window.onload = function() {
for (let r=0; r < rows; r++) {
for (let c=0; c < columns; c++) {
//<img id="0-0" src="1.jpg">
let tile = document.createElement("img");
tile.id = r.toString() + "-" + c.toString();
tile.src = imgOrder.shift() + ".jpg";
document.getElementById("board").append(tile);
}
}
}Now, we are in our main file. So here we have declared row and column to 3, and we have an array which have random numbers between 1-9. Then we add some onload of the window functionality, in this we have used 2 loops, so we can access each tile of board.
After that, we need to create an element of image, with this line of code tile.id = r.toString() + "-" + c.toString(); we can get each tile id. Now we will access every image in imgOrder array. Lastly, we will append the every image on every tile.

Adding Drag Functionality
tile.addEventListener("dragstart", dragStart);
tile.addEventListener("dragover", dragOver);
tile.addEventListener("dragenter", dragEnter);
tile.addEventListener("dragleave", dragLeave);
tile.addEventListener("drop", dragDrop);
tile.addEventListener("dragend", dragEnd);
}
}
function dragStart() {
currTile = this; //this refers to the img tile being dragged
}
function dragOver(e) {
e.preventDefault();
}
function dragEnter(e) {
e.preventDefault();
}
function dragLeave() {
}
function dragDrop() {
otherTile = this; //this refers to the img tile being dropped on
}
function dragEnd() {
if (!otherTile.src.includes("3.jpg")) {
return;
}
let currCoords = currTile.id.split("-"); //ex) "0-0" -> ["0", "0"]
let r = parseInt(currCoords[0]);
let c = parseInt(currCoords[1]);
let otherCoords = otherTile.id.split("-");
let r2 = parseInt(otherCoords[0]);
let c2 = parseInt(otherCoords[1]);
let moveLeft = r == r2 && c2 == c-1;
let moveRight = r == r2 && c2 == c+1;
let moveUp = c == c2 && r2 == r-1;
let moveDown = c == c2 && r2 == r+1;
let isAdjacent = moveLeft || moveRight || moveUp || moveDown;
if (isAdjacent) {
let currImg = currTile.src;
let otherImg = otherTile.src;
currTile.src = otherImg;
otherTile.src = currImg;
turns += 1;
document.getElementById("turns").innerText = turns;
}
}So now lastly, we need to add drag functionality here. We need to add event listeners on every action with callback function. Here we have dragstart, dragover, dragenter, dragleave, drop and dragend. These events we will have when we swap the image pieces. At dragStart function, we’re just referring to the image tile which is going to be dragged, at dragOver, dragEnter, dragLeave functions we don’t need any other operations, so they do nothing here. At dragDrop function, we are referring to the image is dropped on.
Lastly, we need to perform swap in dragEnd function, in this we will spit current and swapping coordinates using ‘-‘, as a result we will get 2 elements in an array, and we will assign in some variable. Now we will add left, right, up and down swapping logic, And any changes are performed then we will swap image and increment counter for turns.
Full Source Code of Slide Puzzle Game in HTML CSS and JavaScript
index.html
<!DOCTYPE html>
<html>
<head>
<meta charset="UTF-8">
<meta name="viewport" content="width=device-width, initial-scale=1.0">
<title>Slide Puzzle</title>
<link rel="stylesheet" href="puzzle.css">
<script src="puzzle.js"></script>
</head>
<body>
<img id="title" src="./logo.png">
<div id="board">
</div>
<h1>Turns: <span id="turns">0</span></h1>
</body>
</html>puzzle.css
body {
    font-family: Arial, Helvetica, sans-serif;
    text-align: center;
    color: #0c67ae;
}
#title {
    height: 150px;
    width: 400px;
}

#board {
    width: 360px;
    height: 360px;
    background-color: lightblue;
    border: 10px solid #0c67ae;

    margin: 0 auto;
    display: flex;
    flex-wrap: wrap;
}

#board img {
    width: 118px;
    height: 118px;
    border: 1px solid #0c67ae;
}puzzle.js
var rows = 3;
var columns = 3;

var currTile;
var otherTile; //blank tile

var turns = 0;

// var imgOrder = ["1", "2", "3", "4", "5", "6", "7", "8", "9"];
var imgOrder = ["4", "2", "8", "5", "1", "6", "7", "9", "3"];

window.onload = function() {
    for (let r=0; r < rows; r++) {
        for (let c=0; c < columns; c++) {

            //<img id="0-0" src="1.jpg">
            let tile = document.createElement("img");
            tile.id = r.toString() + "-" + c.toString();
            tile.src = imgOrder.shift() + ".jpg";

            //DRAG FUNCTIONALITY
            tile.addEventListener("dragstart", dragStart);  //click an image to drag
            tile.addEventListener("dragover", dragOver);    //moving image around while clicked
            tile.addEventListener("dragenter", dragEnter);  //dragging image onto another one
            tile.addEventListener("dragleave", dragLeave);  //dragged image leaving anohter image
            tile.addEventListener("drop", dragDrop);        //drag an image over another image, drop the image
            tile.addEventListener("dragend", dragEnd);      //after drag drop, swap the two tiles

            document.getElementById("board").append(tile);

        }
    }
}

function dragStart() {
    currTile = this; //this refers to the img tile being dragged
}

function dragOver(e) {
    e.preventDefault();
}

function dragEnter(e) {
    e.preventDefault();
}

function dragLeave() {

}

function dragDrop() {
    otherTile = this; //this refers to the img tile being dropped on
}

function dragEnd() {
    if (!otherTile.src.includes("3.jpg")) {
        return;
    }

    let currCoords = currTile.id.split("-"); //ex) "0-0" -> ["0", "0"]
    let r = parseInt(currCoords[0]);
    let c = parseInt(currCoords[1]);

    let otherCoords = otherTile.id.split("-");
    let r2 = parseInt(otherCoords[0]);
    let c2 = parseInt(otherCoords[1]);

    let moveLeft = r == r2 && c2 == c-1;
    let moveRight = r == r2 && c2 == c+1;

    let moveUp = c == c2 && r2 == r-1;
    let moveDown = c == c2 && r2 == r+1;

    let isAdjacent = moveLeft || moveRight || moveUp || moveDown;

    if (isAdjacent) {
        let currImg = currTile.src;
        let otherImg = otherTile.src;

        currTile.src = otherImg;
        otherTile.src = currImg;

        turns += 1;
        document.getElementById("turns").innerText = turns;
    }


}
Output

Video Reference:


