


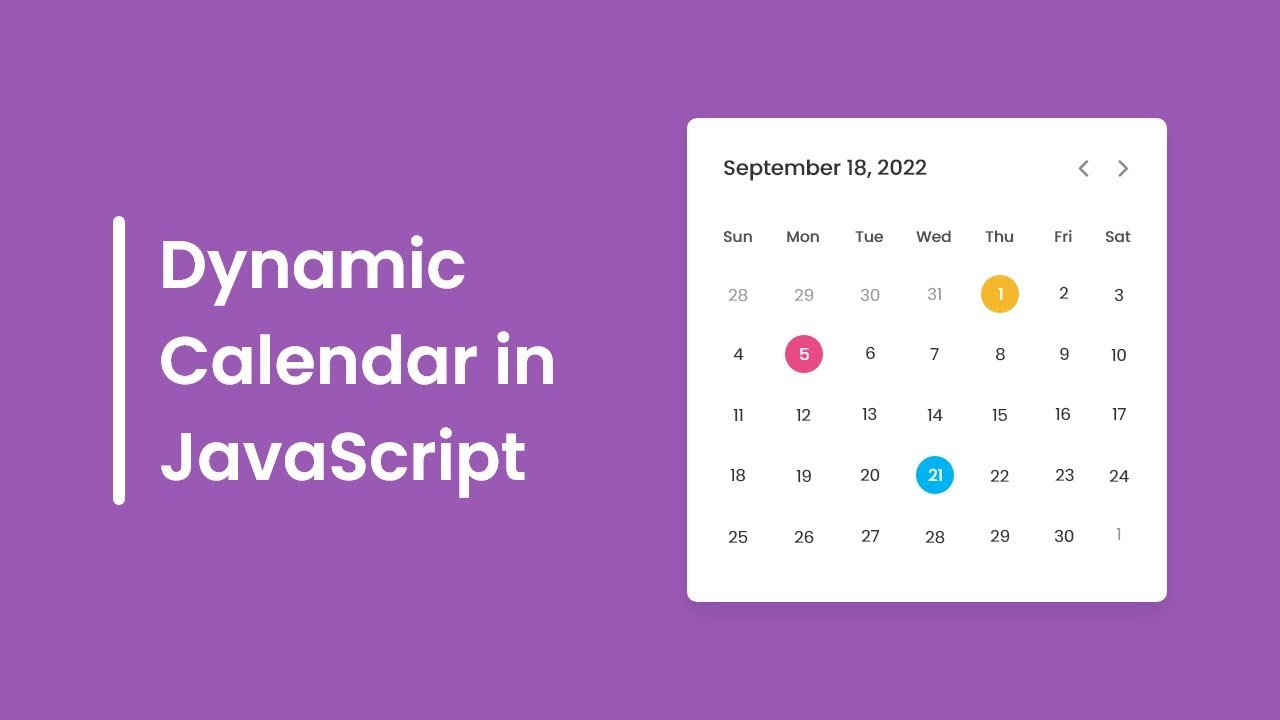
In today’s article, we will make a dynamic calendar in HTML, CSS & JavaScript. We will create this calendar in HTML which will looks like inbuilt calendar as Microsoft calendar. So we will use HTML, CSS to design And lastly JavaScript to add functionality to change the months.
This dynamic calendar will be created using very simple and beginner-friendly coding. So let’s make this calendar step by step.
Creating HTML Markup
First of all, we need to create our HTML file which will be our base file, and by using this we will make basic structure for the calendar. Here, we have added material symbol link which available on Google, so that we can add some symbols like previous and next symbol.
Now we have to add our CSS and JS files, then we have added wrapper div. We have also added a header in which we have added a paragraph and two icons for previous and next. Then we have added calendar div, in which we have an unordered list for days.
<!DOCTYPE html>

<html lang="en" dir="ltr">
  <head>
    <meta charset="utf-8">
    <title>Dynamic Calendar JavaScript</title>
    <link rel="stylesheet" href="style.css">
    <meta name="viewport" content="width=device-width, initial-scale=1.0">
    <!-- Google Font Link for Icons -->
    <link rel="stylesheet" href="https://fonts.googleapis.com/css2?family=Material+Symbols+Rounded:opsz,wght,FILL,GRAD@20..48,100..700,0..1,-50..200">
    <script src="script.js" defer></script>
  </head>
  <body>
    <div class="wrapper">
      <header>
        <p class="current-date"></p>
        <div class="icons">
          <span id="prev" class="material-symbols-rounded">chevron_left</span>
          <span id="next" class="material-symbols-rounded">chevron_right</span>
        </div>
      </header>
      <div class="calendar">
        <ul class="weeks">
          <li>Sun</li>
          <li>Mon</li>
          <li>Tue</li>
          <li>Wed</li>
          <li>Thu</li>
          <li>Fri</li>
          <li>Sat</li>
        </ul>
        <ul class="days"></ul>
      </div>
    </div>

  </body>
</html>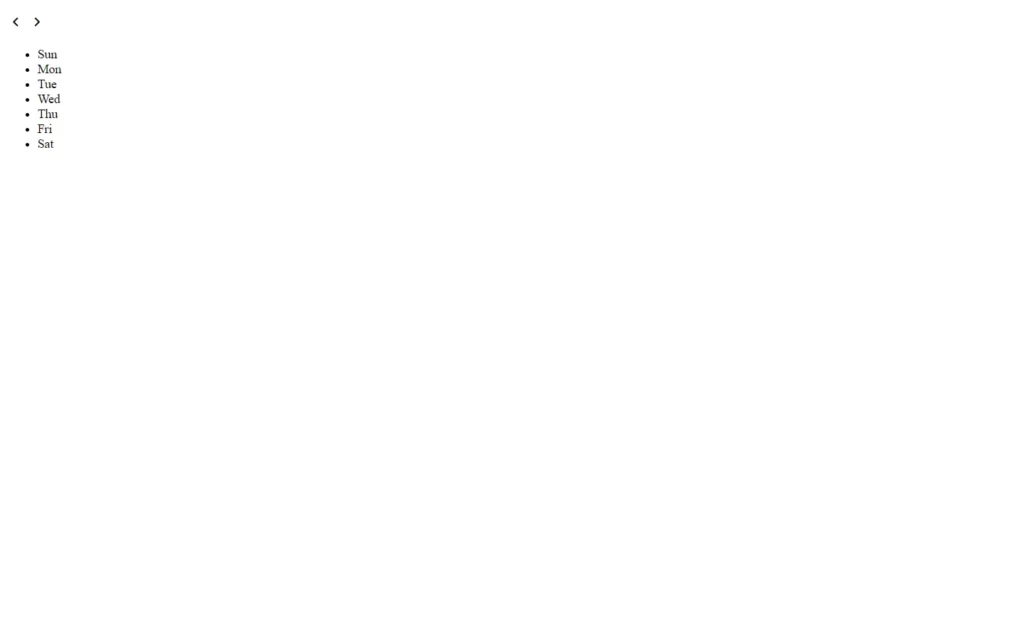
Customizing And Styling The Calendar
Now we need to apply some CSS to add some styling to the calendar. We have just added some basic styles like background color, calendar color, and we have added some basic styles to give some hover effect over the days, dates, and month. You can also customize this using your own CSS, so basically, we did some coloring here.
/* Import Google font - Poppins */
@import url('https://fonts.googleapis.com/css2?family=Poppins:wght@400;500;600&display=swap');
*{
  margin: 0;
  padding: 0;
  box-sizing: border-box;
  font-family: 'Poppins', sans-serif;
}
body{
  display: flex;
  align-items: center;
  padding: 0 10px;
  justify-content: center;
  min-height: 100vh;
  background: #9B59B6;
}
.wrapper{
  width: 450px;
  background: #fff;
  border-radius: 10px;
  box-shadow: 0 15px 40px rgba(0,0,0,0.12);
}
.wrapper header{
  display: flex;
  align-items: center;
  padding: 25px 30px 10px;
  justify-content: space-between;
}
header .icons{
  display: flex;
}
header .icons span{
  height: 38px;
  width: 38px;
  margin: 0 1px;
  cursor: pointer;
  color: #878787;
  text-align: center;
  line-height: 38px;
  font-size: 1.9rem;
  user-select: none;
  border-radius: 50%;
}
.icons span:last-child{
  margin-right: -10px;
}
header .icons span:hover{
  background: #f2f2f2;
}
header .current-date{
  font-size: 1.45rem;
  font-weight: 500;
}
.calendar{
  padding: 20px;
}
.calendar ul{
  display: flex;
  flex-wrap: wrap;
  list-style: none;
  text-align: center;
}
.calendar .days{
  margin-bottom: 20px;
}
.calendar li{
  color: #333;
  width: calc(100% / 7);
  font-size: 1.07rem;
}
.calendar .weeks li{
  font-weight: 500;
  cursor: default;
}
.calendar .days li{
  z-index: 1;
  cursor: pointer;
  position: relative;
  margin-top: 30px;
}
.days li.inactive{
  color: #aaa;
}
.days li.active{
  color: #fff;
}
.days li::before{
  position: absolute;
  content: "";
  left: 50%;
  top: 50%;
  height: 40px;
  width: 40px;
  z-index: -1;
  border-radius: 50%;
  transform: translate(-50%, -50%);
}
.days li.active::before{
  background: #9B59B6;
}
.days li:not(.active):hover::before{
  background: #f2f2f2;
}
Adding Variables And Constants
Now we are in our main part which is actually our JS part. Here we have added some constants in which we are fetching days, current date and icons. Now we have added variables for date, current year and current month using Date() method. Then after we have added an array of months.
const daysTag = document.querySelector(".days"),
currentDate = document.querySelector(".current-date"),
prevNextIcon = document.querySelectorAll(".icons span");

// getting new date, current year and month
let date = new Date(),
currYear = date.getFullYear(),
currMonth = date.getMonth();

// storing full name of all months in array
const months = ["January", "February", "March", "April", "May", "June", "July",
              "August", "September", "October", "November", "December"];
Rendering The Calendar
Now we have created a function to render the calendar. In this, we have added some constants to fetch first date of month, last date of month, last day of month and last date of previous month. Then we have added a for loop in which we will print the dates of previous month for before we start our new month’s date.
We used here an inactive class, in which we have already done some CSS to change the color from black to gray. Then we have again used loop to print the current month’s dates. We will loop this from 1 to last date of the month, in which multiple conditions like where i is equal to current date? And date’s month and year if these will be true then we will print the date.
And lastly we will again loop to print next month’s dates with again inactive class which will provide gray color to font. Then we have lastly just added current month name and year.
const renderCalendar = () => {
    let firstDayofMonth = new Date(currYear, currMonth, 1).getDay(), // getting first day of month
    lastDateofMonth = new Date(currYear, currMonth + 1, 0).getDate(), // getting last date of month
    lastDayofMonth = new Date(currYear, currMonth, lastDateofMonth).getDay(), // getting last day of month
    lastDateofLastMonth = new Date(currYear, currMonth, 0).getDate(); // getting last date of previous month
    let liTag = "";

    for (let i = firstDayofMonth; i > 0; i--) { // creating li of previous month last days
        liTag += `<li class="inactive">${lastDateofLastMonth - i + 1}</li>`;
    }

    for (let i = 1; i <= lastDateofMonth; i++) { // creating li of all days of current month
        // adding active class to li if the current day, month, and year matched
        let isToday = i === date.getDate() && currMonth === new Date().getMonth()
                     && currYear === new Date().getFullYear() ? "active" : "";
        liTag += `<li class="${isToday}">${i}</li>`;
    }

    for (let i = lastDayofMonth; i < 6; i++) { // creating li of next month first days
        liTag += `<li class="inactive">${i - lastDayofMonth + 1}</li>`
    }
    currentDate.innerText = `${months[currMonth]} ${currYear}`; // passing current mon and yr as currentDate text
    daysTag.innerHTML = liTag;
}
renderCalendar();
Adding Functionality to Change Month
Now we have made calendar, After that we have to add functionality to the icons, so that we can switch between months to previous and next month. For that we have added click event listener on the icon, and we are checking the id of previous button if clicked icon is previous button icon then we will decrement the month otherwise we will increment the month.
Now we will check a condition if current month is less than 0 or is greater than 11, then we will create new date of current year & month and pass it as date value. After that, we will create the calendar according to next month and year by getting next year and month. By using these, we will create the month’s calendar according to the current month and year.
prevNextIcon.forEach(icon => { // getting prev and next icons
    icon.addEventListener("click", () => { // adding click event on both icons
        // if clicked icon is previous icon then decrement current month by 1 else increment it by 1
        currMonth = icon.id === "prev" ? currMonth - 1 : currMonth + 1;

        if(currMonth < 0 || currMonth > 11) { // if current month is less than 0 or greater than 11
            // creating a new date of current year & month and pass it as date value
            date = new Date(currYear, currMonth);
            currYear = date.getFullYear(); // updating current year with new date year
            currMonth = date.getMonth(); // updating current month with new date month
        } else {
            date = new Date(); // pass the current date as date value
        }
        renderCalendar(); // calling renderCalendar function
    });
});
Full Source Code of How to Make A Dynamic Calendar in HTML, CSS & JavaScript
index.html
<!DOCTYPE html>

<html lang="en" dir="ltr">
  <head>
    <meta charset="utf-8">
    <title>Dynamic Calendar JavaScript</title>
    <link rel="stylesheet" href="style.css">
    <meta name="viewport" content="width=device-width, initial-scale=1.0">
    <!-- Google Font Link for Icons -->
    <link rel="stylesheet" href="https://fonts.googleapis.com/css2?family=Material+Symbols+Rounded:opsz,wght,FILL,GRAD@20..48,100..700,0..1,-50..200">
    <script src="script.js" defer></script>
  </head>
  <body>
    <div class="wrapper">
      <header>
        <p class="current-date"></p>
        <div class="icons">
          <span id="prev" class="material-symbols-rounded">chevron_left</span>
          <span id="next" class="material-symbols-rounded">chevron_right</span>
        </div>
      </header>
      <div class="calendar">
        <ul class="weeks">
          <li>Sun</li>
          <li>Mon</li>
          <li>Tue</li>
          <li>Wed</li>
          <li>Thu</li>
          <li>Fri</li>
          <li>Sat</li>
        </ul>
        <ul class="days"></ul>
      </div>
    </div>

  </body>
</html>
style.css
/* Import Google font - Poppins */
@import url('https://fonts.googleapis.com/css2?family=Poppins:wght@400;500;600&display=swap');
*{
  margin: 0;
  padding: 0;
  box-sizing: border-box;
  font-family: 'Poppins', sans-serif;
}
body{
  display: flex;
  align-items: center;
  padding: 0 10px;
  justify-content: center;
  min-height: 100vh;
  background: #9B59B6;
}
.wrapper{
  width: 450px;
  background: #fff;
  border-radius: 10px;
  box-shadow: 0 15px 40px rgba(0,0,0,0.12);
}
.wrapper header{
  display: flex;
  align-items: center;
  padding: 25px 30px 10px;
  justify-content: space-between;
}
header .icons{
  display: flex;
}
header .icons span{
  height: 38px;
  width: 38px;
  margin: 0 1px;
  cursor: pointer;
  color: #878787;
  text-align: center;
  line-height: 38px;
  font-size: 1.9rem;
  user-select: none;
  border-radius: 50%;
}
.icons span:last-child{
  margin-right: -10px;
}
header .icons span:hover{
  background: #f2f2f2;
}
header .current-date{
  font-size: 1.45rem;
  font-weight: 500;
}
.calendar{
  padding: 20px;
}
.calendar ul{
  display: flex;
  flex-wrap: wrap;
  list-style: none;
  text-align: center;
}
.calendar .days{
  margin-bottom: 20px;
}
.calendar li{
  color: #333;
  width: calc(100% / 7);
  font-size: 1.07rem;
}
.calendar .weeks li{
  font-weight: 500;
  cursor: default;
}
.calendar .days li{
  z-index: 1;
  cursor: pointer;
  position: relative;
  margin-top: 30px;
}
.days li.inactive{
  color: #aaa;
}
.days li.active{
  color: #fff;
}
.days li::before{
  position: absolute;
  content: "";
  left: 50%;
  top: 50%;
  height: 40px;
  width: 40px;
  z-index: -1;
  border-radius: 50%;
  transform: translate(-50%, -50%);
}
.days li.active::before{
  background: #9B59B6;
}
.days li:not(.active):hover::before{
  background: #f2f2f2;
}
script.js
const daysTag = document.querySelector(".days"),
currentDate = document.querySelector(".current-date"),
prevNextIcon = document.querySelectorAll(".icons span");

// getting new date, current year and month
let date = new Date(),
currYear = date.getFullYear(),
currMonth = date.getMonth();

// storing full name of all months in array
const months = ["January", "February", "March", "April", "May", "June", "July",
              "August", "September", "October", "November", "December"];

const renderCalendar = () => {
    let firstDayofMonth = new Date(currYear, currMonth, 1).getDay(), // getting first day of month
    lastDateofMonth = new Date(currYear, currMonth + 1, 0).getDate(), // getting last date of month
    lastDayofMonth = new Date(currYear, currMonth, lastDateofMonth).getDay(), // getting last day of month
    lastDateofLastMonth = new Date(currYear, currMonth, 0).getDate(); // getting last date of previous month
    let liTag = "";

    for (let i = firstDayofMonth; i > 0; i--) { // creating li of previous month last days
        liTag += `<li class="inactive">${lastDateofLastMonth - i + 1}</li>`;
    }

    for (let i = 1; i <= lastDateofMonth; i++) { // creating li of all days of current month
        // adding active class to li if the current day, month, and year matched
        let isToday = i === date.getDate() && currMonth === new Date().getMonth()
                     && currYear === new Date().getFullYear() ? "active" : "";
        liTag += `<li class="${isToday}">${i}</li>`;
    }

    for (let i = lastDayofMonth; i < 6; i++) { // creating li of next month first days
        liTag += `<li class="inactive">${i - lastDayofMonth + 1}</li>`
    }
    currentDate.innerText = `${months[currMonth]} ${currYear}`; // passing current mon and yr as currentDate text
    daysTag.innerHTML = liTag;
}
renderCalendar();

prevNextIcon.forEach(icon => { // getting prev and next icons
    icon.addEventListener("click", () => { // adding click event on both icons
        // if clicked icon is previous icon then decrement current month by 1 else increment it by 1
        currMonth = icon.id === "prev" ? currMonth - 1 : currMonth + 1;

        if(currMonth < 0 || currMonth > 11) { // if current month is less than 0 or greater than 11
            // creating a new date of current year & month and pass it as date value
            date = new Date(currYear, currMonth);
            currYear = date.getFullYear(); // updating current year with new date year
            currMonth = date.getMonth(); // updating current month with new date month
        } else {
            date = new Date(); // pass the current date as date value
        }
        renderCalendar(); // calling renderCalendar function
    });
});
Output
Check video reference here:


