In this article, We’re going to make Chemical Reaction With CSS Animation, here we will make a flask which will contains some chemical in it and if we shake the flask bubbles will generate comes out of chemical, this will be cool project.
you can see the demo here Chemical Reaction With CSS Animation
Pre-requisites To Make Chemical Reaction With CSS Animation
- Basic knowledge of HTML.
- Must know CSS & CSS3 animations.
Adjusting Default CSS Values And HTML
<div class="RB_flask">
        <div class="chemical"></div>
    </div>
    <h1 class="brand_name"><span class="first_name">Code</span><span class="last_name">Lab</span></h1>
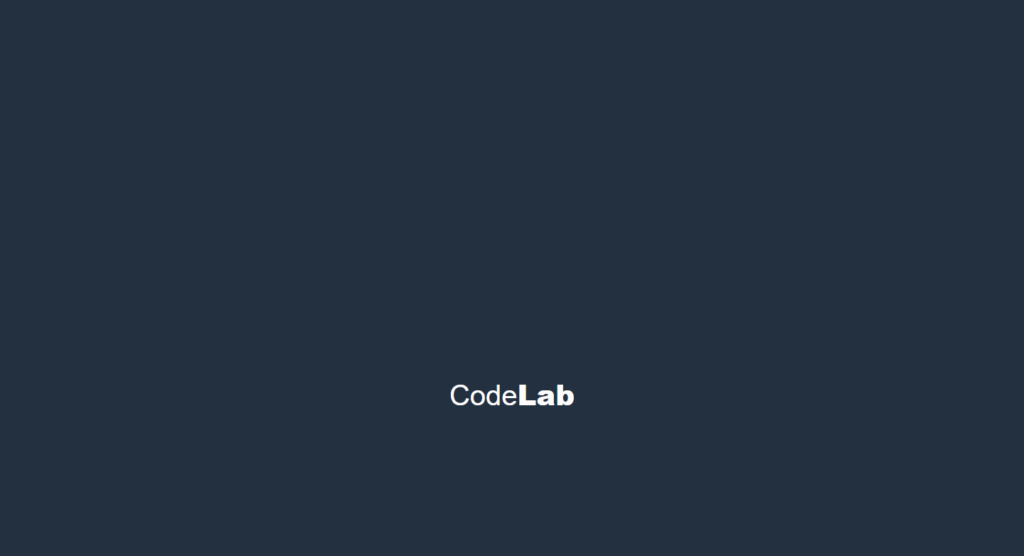
In the index.html file, inside the body tag we’re giving div class name RB_flask and inside that div we’re giving another div with class name chemical, outside that we’re creating a heading that’s H1 heading with class name brand name and inside that we’re giving span tag with class first name inside that we’re giving Code and next to that we’re giving another respond type with the class last name and inside that we’re writing Lab.
:root{
    --grey: rgb(34,48,64);
    --blue: rgb(0,122,253);
    --green: rgb(6,215,108);
    --white: rgb(253,251,252);
}

*{
    margin: 0;
    padding: 0;
    box-sizing: border-box;
}

body{
    height: 100vh;
    background-color: var(--grey);
		display: flex;
    justify-content: center;
    align-items: center;
}

.brand_name{
    color: var(--white);
}

.first_name{
    font: lighter 2.5rem helvetica, sans-serif;
}

.last_name{
    font: bolder 2.5rem helvetica, sans-serif;
}
Now in root we’re creating four variables with different name gray, blue, green, white and in the same order we’re giving the individual, now we’re giving margin and padding 0 because browsers by default give some margin and padding so in order to prevent that we’re giving margin and padding. similarly we’re giving box sizing border box.
now let’s style the body tag so in the body tag we’re giving height of 100vh similarly we’re giving the background color of gray color, in order to bring all the contents at the center of the browser we’re giving display flex, justify-content center, and also we’re giving align items to center.
Now let’s style this brand name, so for the class brand name we’re giving color of white variable, for the class first name font, the font weight we’re giving lighter and for the font size we’re giving 2.5rem and for the font family Helvetica sans-serif similarly let’s style this last name so for the last name class we’ll duplicate the code and change lighter to bolder.
Designing Chemical Flask
.RB_flask{
    position: relative;
    height: 20rem;
    width: 25rem;
    animation: shake 1.3s ease-in-out;
}

.RB_flask::after{
    position: absolute;
    content: '';
    top: -11.5%;
    left: 62.5%;
    transform: translateX(-63%) rotate(15deg);

    width: 4.5rem;
    height: 5.5rem;
    background-color: var(--grey);
    border: .2rem solid var(--white);
    border-top: none;
    border-bottom: none;
}

.chemical{
    position: absolute;
    top: 50%;
    left: 50%;
    transform: translate(-50%, -50%) rotate(25deg);
    width: 14rem;
    height: 14rem;
    border: .2rem solid var(--white);
    border-top: .2rem solid var(--grey);
    border-radius: 50%;

    outline: .2rem solid var(--white);
    outline-offset: .5rem;
    overflow: hidden;
}
Now let’s tell the RB_flask, we’re giving height of 20 ram for the width we’re giving 25rem, now in the RB_flask, now let’s style chemical class so for the chemical class we’re giving width of 14rem and for the height we’re giving 14, and also we want to give border of .2rem solid and for the border color we’re giving white, after that give this position of absolute, from top we’ll give 50% and from left we’re giving 50%, so we’re writing transform translate -50% for x-axis and for the y-axis we’re giving -50%.
Let’s give border radius of 50% because we want to give circle shape we’re duplicating that border property for the border-top we’re giving color of gray, and now let’s give outline of .1rem for the outline width we’re giving solid for the color we’re giving white after that we’re writing outline offset to 0.5rem similarly we’ll rotate 25degree.
Now the neck or the opening mouth of that flask, we’re giving position of absolute and width of 4.5rem and for the height we’re giving 5.5rem similarly we’re giving the background color of white, and we’re writing top -11.5, and also we want to take a bit far from the center so for that we’re writing left 62.5%.
similarly we’re giving transform translate for the x-axis we’re giving -63% let’s rotate to15 degree similarly let’s keep border of for the weight we’re giving .2 rem and for the border style we’re giving solid for the color we’re giving white, let’s give border top to none and border bottom to none.

Creating Chemical In The Flask
.chemical::after{
    position: absolute;
    content: '';
    top: 50%;
    left: 15%;
    transform: rotate(75deg);
    width: 100%;
    height: 130%;
    background-color: var(--green);
}
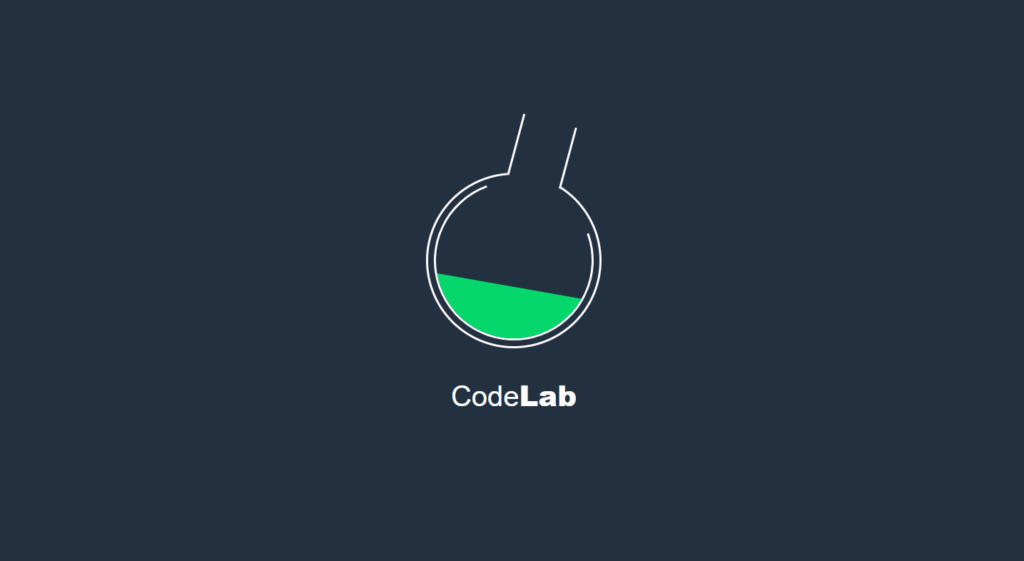
Now we’re going to give some chemical inside that flask so in order to do that for the chemical class we’re giving after pseudo-element so inside that we’re writing position to absolute, for the width we’re giving 100% and for the height we’re giving 130% similarly we’ll give background-color to green, after that we’re giving top of 50%, and also we want to take it a little left side, so we’re giving left of 15% similarly let’s give transform to rotate, so we’re giving rotate 75 degree, so this is what the chemical that we are storing in our RB_flask.
Creating Bubbles In The Chemical
<div class="chemical">
            <div class="bubbles">
                <div class="bubble"></div>
                <div class="bubble"></div>
                <div class="bubble"></div>
                <div class="bubble"></div>
                <div class="bubble"></div>
            </div>
        </div>
.bubbles{
    position: absolute;
    width: 100%;
    height: 100%;
    transform: translateX(10px);

    display: flex;
    justify-content: space-between;
    align-items: center;
}

.bubble{
    width: 1rem;
    height: 1rem;
    background-color: var(--green);
    border-radius: 50%;
    transform: translate(60px, 65px);

}
Now let’s go back to the HTML file inside the chemical class div we’re giving another div with class name bubbles and inside that div we’re going to create five more div with class name bubble.
Now let’s style the bubbles class, so for the bubbles class we’re giving position of absolute and for the width we’re giving 100%, for the height we’re giving 100%, now let’s style the bubble, we’re giving width of .1rem, height of 1rem, we’ll give background color of green, let’s keep transform translate for the x-axis we’re giving 60 pixels and for the y-axis we’re giving 65 pixels and let’s keep border radius of 50, we’ll give the display flex so for the justify content we’re giving space-between and also for the align-items to center.

Animating Flask
.RB_flask{
    position: relative;
    height: 20rem;
    width: 25rem;
    animation: shake 1.3s ease-in-out;
}

@keyframes shake{
    0% { transform: translateX(0); }
    20% { transform: translateX(-20); }
    40% { transform: translateX(20); }
    60% { transform: translateX(-20); }
    80% { transform: translateX(20); }
    100% { transform: translateX(0); }
}
Let’s animate this RB_flask, we are giving animation property to animation name “shake” for the animation duration we’re giving 1.3 second for the timing function we’re giving ease in and out.
create the animation shake as an animation name, so we’re going to use portion for the 0 portion we’re giving transform translate x to 0 so let’s duplicate this code for more four times, so in the 20% we’re giving once let x to -20 pixels, in the 40% we’re giving 20 pixels, in this 60% we’re giving -20 pixels, and in the 80% we’re giving 20 pixels and at the 100 percent we’re giving back to 0.
Animating Chemical
.chemical::after{
    position: absolute;
    content: '';
    top: 50%;
    left: 15%;
    transform: rotate(75deg);
    width: 100%;
    height: 130%;
    background-color: var(--green);
    animation:  wave 1.3s linear;
}

@keyframes wave{
    0% {
        transform: rotate(75deg);
        background-color: var(--blue);
    }
    10% { transform: rotate(69deg); }
    20% { transform: rotate(62deg); }
    30% { transform: rotate(69deg); }
    40% { transform: rotate(75deg); }
    50% { transform: rotate(80deg); }
    60% { transform: rotate(85deg); }
    70% {
        transform: rotate(90deg);
        background-color: var(--blue);
        }
    80% { transform: rotate(85deg); }
    90% { transform: rotate(80deg); }
    100% { transform: rotate(75deg); }

}
Now let’s animate that green color chemical, now let’s go to the chemical after pseudo-element element, so we’re giving animation wave with animation duration we’re giving 1.3 second for the timing function we’re giving linear.
we’re creating for the 0% let’s give transform rotate 75 degrees similarly background color we’re giving at 0% blue, for the 10% we’re giving transform rotate 69 degree and let’s copy this code for more eight times, so at 20% we’re giving 62 degree, at 40 percent we’re giving 75 degree, at 50 percent we’re giving 80 degree, at 60 percent we’re giving 85 degree, at 70 percent we’re giving 90 degree, at 80 percent we’re giving back to 85 degree, at 90 percent we’re giving 80 degree, and at 100 we’re giving back to 75 degrees, we want to show that blue color for longer time, so in the 70 we’re giving background color to that blue color.

Animating Bubbles In The Chemical
.bubble{
    width: 1rem;
    height: 1rem;
    background-color: var(--green);
    border-radius: 50%;
    transform: translate(60px, 65px);
    animation: chemical_bubbles 2s linear infinite;
}

@keyframes chemical_bubbles {
    0% {
        transform:translate(60px, 65px) scale(.3);
        opacity: 0;
    }
    20% { opacity: 1; }
    60% {
        transform: translate(20px, 45px);
        opacity: 1;

    }
    100% {
        transform: translate(-40px, -80px) scale(.4);
        opacity: 0;
    }
}

.bubble:nth-child(1){ animation-delay: 1.4s;}
.bubble:nth-child(2){
    width: 2rem;
    height: 2rem;
    animation-delay: 3.8s;
}
.bubble:nth-child(3){
    width: 2.5rem;
    height: 2.5rem;
    animation-delay: .6s;
}
.bubble:nth-child(4){
    width: 1.4rem;
    height: 1.4rem;
    animation-delay: 3s;
}
.bubble:nth-child(5){
    animation-delay: 2.2%;
}
Now let’s animate the bubbles, for the bubble class we’re giving animation chemical_bubbles and for the animation duration we’re giving 2s timing function to linear and the iteration count to infinite.
so add keyframe we’re giving animation name of chemical bubbles now at 0% transform translate 60 pixels for the x-axis and 65 pixels for the y-axis and also, let’s give at 20% we’re giving opacity 1 and also at 0% we’re giving opacity 0, let’s duplicate this code so at 60 % we’re writing transform we’re giving opacity to 1 for the y-axis we’re giving 45 pixels and for the transform for the x-axis we’ll give 20 pixels, at the 100% give transform x to -40 pixels and for the y-axis we’re giving minus 80 pixels.
So for the animation chemical bubbles at 0% we want to add some scale, so give some scale of 0.3 at 0% and at 100% we’re giving a scale of 0.4. the bubble class pseudo class and child for the first child we’re giving animation delay of 1.4 second and let’s duplicate this code similarly let’s keep width of 2 rem and height of 2rem.
let’s give animation delay to 3.8 second, for the third child let’s change it to 2 and also let’s change it to 3 so for the width we’re giving 2.5rem for the height and width and also let’s change its animation delay to 0.9 second similarly let’s duplicate this code for the fourth child we’re giving width and height to 1.4rem and also for the animation delay we’re giving 3 seconds let’s duplicate that code and for the fifth child we’re giving animation delay to 2.2 seconds, at 100 let’s give it opacity to 0.
Full Source Code Of Chemical Reaction With CSS Animation
index.html
<!DOCTYPE html>
<html lang="en">
<head>
    <meta charset="UTF-8">
    <meta http-equiv="X-UA-Compatible" content="IE=edge">
    <meta name="viewport" content="width=device-width, initial-scale=1.0">
    <title>Chemical Reaction</title>
    <link rel="stylesheet" href="style.css">
</head>
<body>
    <div class="RB_flask">
        <div class="chemical">
            <div class="bubbles">
                <div class="bubble"></div>
                <div class="bubble"></div>
                <div class="bubble"></div>
                <div class="bubble"></div>
                <div class="bubble"></div>
            </div>
        </div>
    </div>
    <h1 class="brand_name"><span class="first_name">Code</span><span class="last_name">Lab</span></h1>

</body>
</html>
style.css
:root{
    --grey: rgb(34,48,64);
    --blue: rgb(0,122,253);
    --green: rgb(6,215,108);
    --white: rgb(253,251,252);
}

*{
    margin: 0;
    padding: 0;
    box-sizing: border-box;
}

body{
    height: 100vh;
    background-color: var(--grey);

    display: flex;
    flex-direction: column;
    justify-content: center;
    align-items: center;
}

.RB_flask{
    position: relative;
    height: 20rem;
    width: 25rem;
    animation: shake 1.3s ease-in-out;
}

@keyframes shake{
    0% { transform: translateX(0); }
    20% { transform: translateX(-20); }
    40% { transform: translateX(20); }
    60% { transform: translateX(-20); }
    80% { transform: translateX(20); }
    100% { transform: translateX(0); }
}

.RB_flask::after{
    position: absolute;
    content: '';
    top: -11.5%;
    left: 62.5%;
    transform: translateX(-63%) rotate(15deg);

    width: 4.5rem;
    height: 5.5rem;
    background-color: var(--grey);
    border: .2rem solid var(--white);
    border-top: none;
    border-bottom: none;
}

.chemical{
    position: absolute;
    top: 50%;
    left: 50%;
    transform: translate(-50%, -50%) rotate(25deg);
    width: 14rem;
    height: 14rem;
    border: .2rem solid var(--white);
    border-top: .2rem solid var(--grey);
    border-radius: 50%;

    outline: .2rem solid var(--white);
    outline-offset: .5rem;
    overflow: hidden;
}

.chemical::after{
    position: absolute;
    content: '';
    top: 50%;
    left: 15%;
    transform: rotate(75deg);
    width: 100%;
    height: 130%;
    background-color: var(--green);
    animation:  wave 1.3s linear;
}

@keyframes wave{
    0% {
        transform: rotate(75deg);
        background-color: var(--blue);
    }
    10% { transform: rotate(69deg); }
    20% { transform: rotate(62deg); }
    30% { transform: rotate(69deg); }
    40% { transform: rotate(75deg); }
    50% { transform: rotate(80deg); }
    60% { transform: rotate(85deg); }
    70% {
        transform: rotate(90deg);
        background-color: var(--blue);
        }
    80% { transform: rotate(85deg); }
    90% { transform: rotate(80deg); }
    100% { transform: rotate(75deg); }

}

.bubbles{
    position: absolute;
    width: 100%;
    height: 100%;
    transform: translateX(10px);

    display: flex;
    justify-content: space-between;
    align-items: center;
}

.bubble{
    width: 1rem;
    height: 1rem;
    background-color: var(--green);
    border-radius: 50%;
    transform: translate(60px, 65px);
    animation: chemical_bubbles 2s linear infinite;
}

@keyframes chemical_bubbles {
    0% {
        transform:translate(60px, 65px) scale(.3);
        opacity: 0;
    }
    20% { opacity: 1; }
    60% {
        transform: translate(20px, 45px);
        opacity: 1;

    }
    100% {
        transform: translate(-40px, -80px) scale(.4);
        opacity: 0;
    }
}

.bubble:nth-child(1){ animation-delay: 1.4s;}
.bubble:nth-child(2){
    width: 2rem;
    height: 2rem;
    animation-delay: 3.8s;
}
.bubble:nth-child(3){
    width: 2.5rem;
    height: 2.5rem;
    animation-delay: .6s;
}
.bubble:nth-child(4){
    width: 1.4rem;
    height: 1.4rem;
    animation-delay: 3s;
}
.bubble:nth-child(5){
    animation-delay: 2.2%;
}

.brand_name{
    color: var(--white);
}

.first_name{
    font: lighter 2.5rem helvetica, sans-serif;
}

.last_name{
    font: bolder 2.5rem helvetica, sans-serif;
}
Output

Check out Full Source Code On Github
